Make a Personalized 3D Printed Christmas Ornament
In This Article
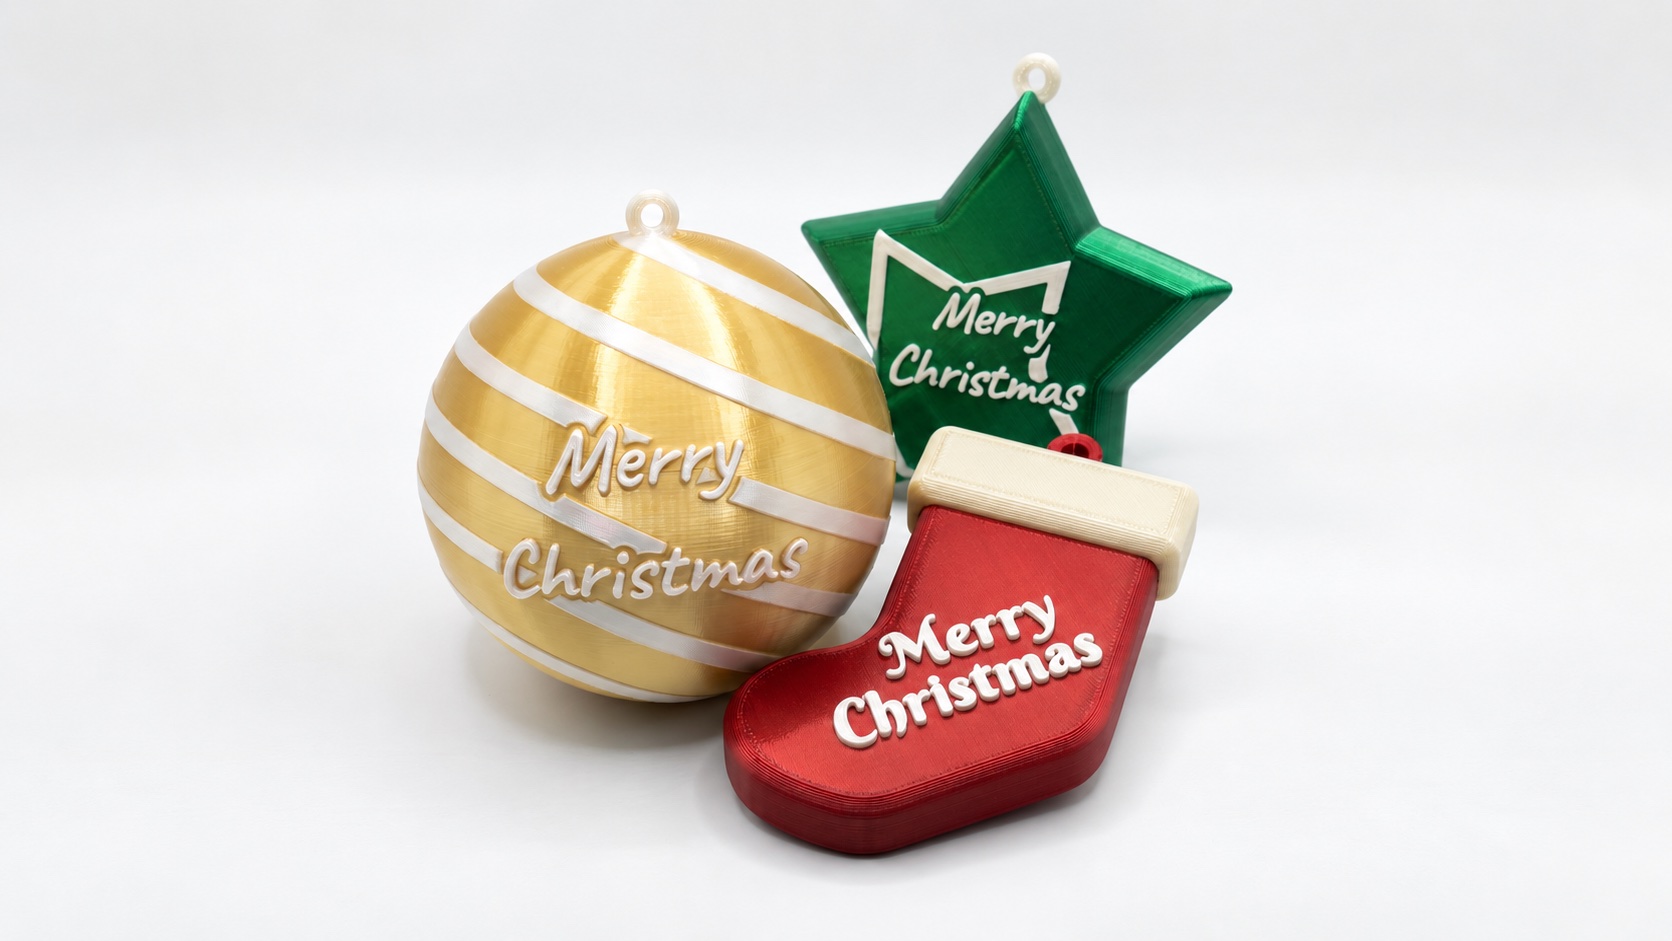
Design inspiration: a round bauble, star, stocking and festive lettering.
A name and a year can turn a Christmas decoration into a keepsake. Make one for a friend, a new home or a family tradition, then bring it out again next December.
PrintVerse’s Christmas Ornament tool combines editable shapes, lettering and colors. For a first project, this guide uses a round layered ornament with Mia on the first line and 2026 on the second.
Start with Round and Layered
In Template, choose Round. Under Structure, select Layered. This gives you a flat-backed starting point with the text and decoration arranged on its front.
The tool also offers Tree, Stocking, Candy Cane, Santa Hat and Star outlines. Some shapes support additional structures, such as interlocking panels. Choose the shape and structure first so the lettering can be refined within the final composition.
For this walkthrough, keep the round model’s starting dimensions and loop. You can compare the finished size with the branch or gift package where it will hang before downloading.
Add the name and year
Open Text. Type Mia into Line 1 and 2026 into Line 2. Replace them with your own name and occasion when you are ready.
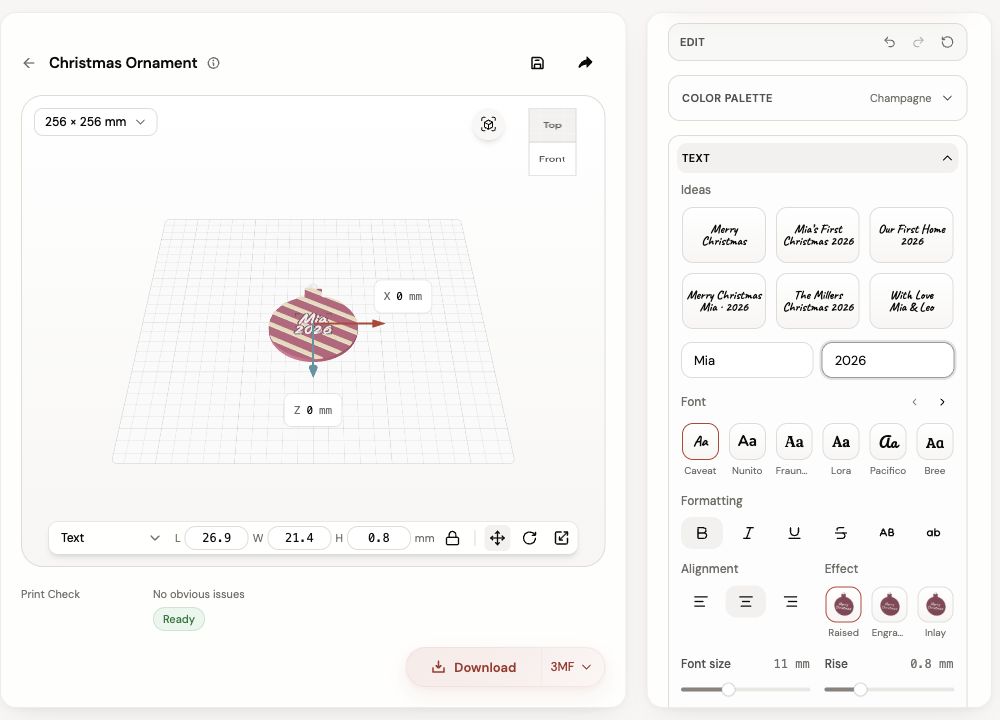
The two text lines form one readable message on the round layered design.
Keep the starting font for the first pass. Then rotate the preview and read the name from a little farther away on screen. A short message leaves room for clear lettering and a decorative border or pattern.
Try the font choices if you want a different mood. Give script lettering extra attention in the slicer, especially fine strokes and enclosed spaces. A slightly bolder or larger word can be easier to resolve at a small ornament size.
Build a simple color arrangement
The example uses the Champagne palette. You can also try another palette, then open individual parts to adjust their colors.
Begin with a distinct text color against the body. Once the name reads clearly, consider the decoration. Stripes can add movement around a short word; a quieter surface gives a longer message more room.
The material finish changes the preview’s appearance. Match the final colors to your own filament collection when you prepare the print.
Check the loop and the whole composition
Select Whole model to read the overall dimensions. Inspect the loop opening and where it joins the ornament. It needs room for the cord you intend to use.
Read Print Check after the final edit. For the layered design, check that the text sits on its supporting surface and that the details remain readable. If you later choose an interlocking or split structure, use its print-layout view to inspect the physical pieces and check their fit in a trial print.
Save the project once the name, year and colors feel right. That gives you an editable starting point for next year’s ornament.
Bring it into your slicer
Choose 3MF for color-region information or STL for geometry, then follow the download steps shown for your account.
In your slicer, select the printer, filament and process profiles. Check that the flat back of the layered ornament sits on the bed, then inspect the layers through the loop and lettering. For a multicolor print, assign the imported regions to the filaments you plan to use.
Print one ornament before preparing a group. Check the text at its real size and thread the intended cord through the loop. You can then adjust the saved design with a clear idea of how it feels in use.
A few words worth keeping
A first name and year make a simple starting point. You might later try “Our First Home,” a family name or a brief message from the person giving the ornament. Keep the wording short enough to enjoy at a glance.
Create your ornament, or use the Custom Nameplate tutorial for a gift that stays on the desk all year.
Share this post
More to read
Author

Nora Lin
Nora explores playful shapes, thoughtful gifts, and small objects that make a space feel personal.